How to set up SSO integration with Centrify
Preprequisites
http://centrify.com account, admin access to that account
Steps
Centrify setup
Log in into Centrify web interface
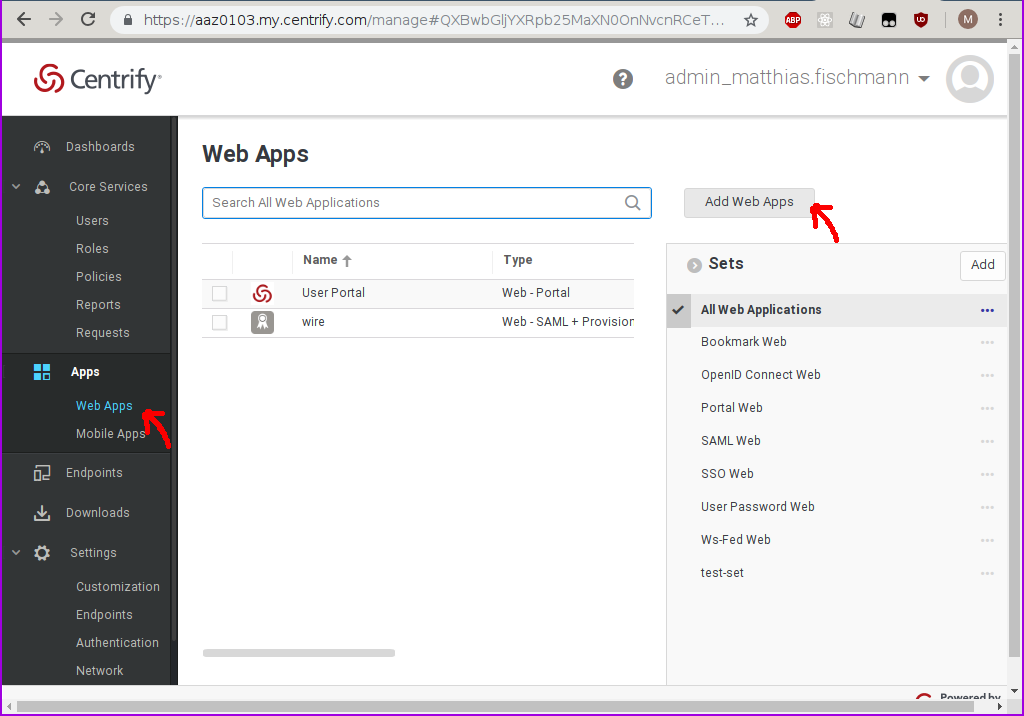
Navigate to “Web Apps”
Click “Add Web Apps”
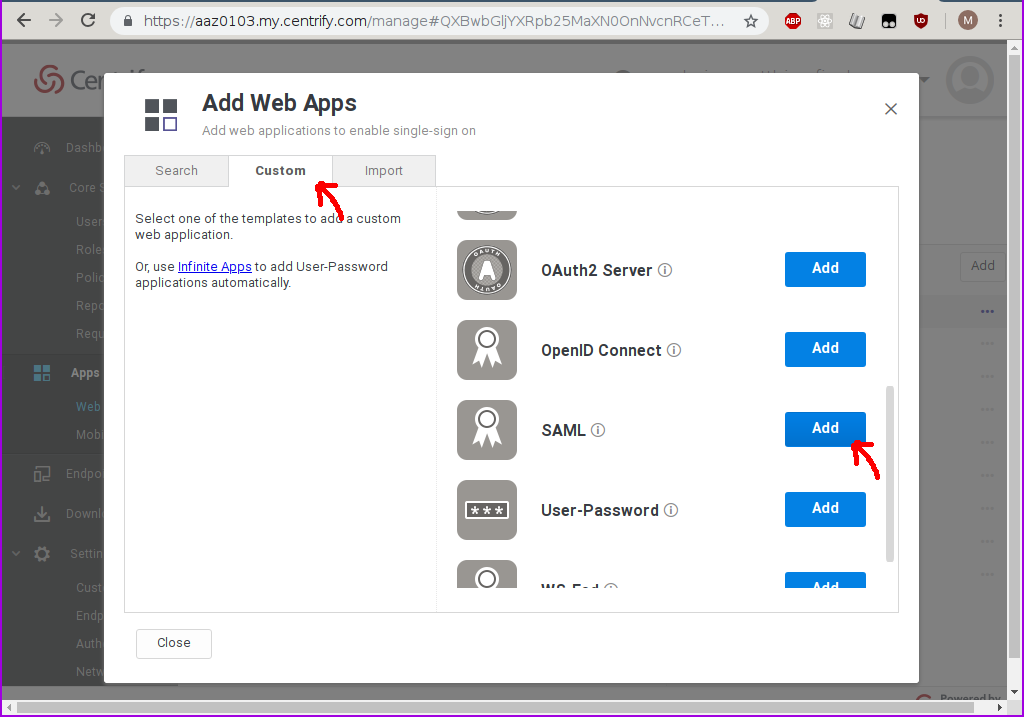
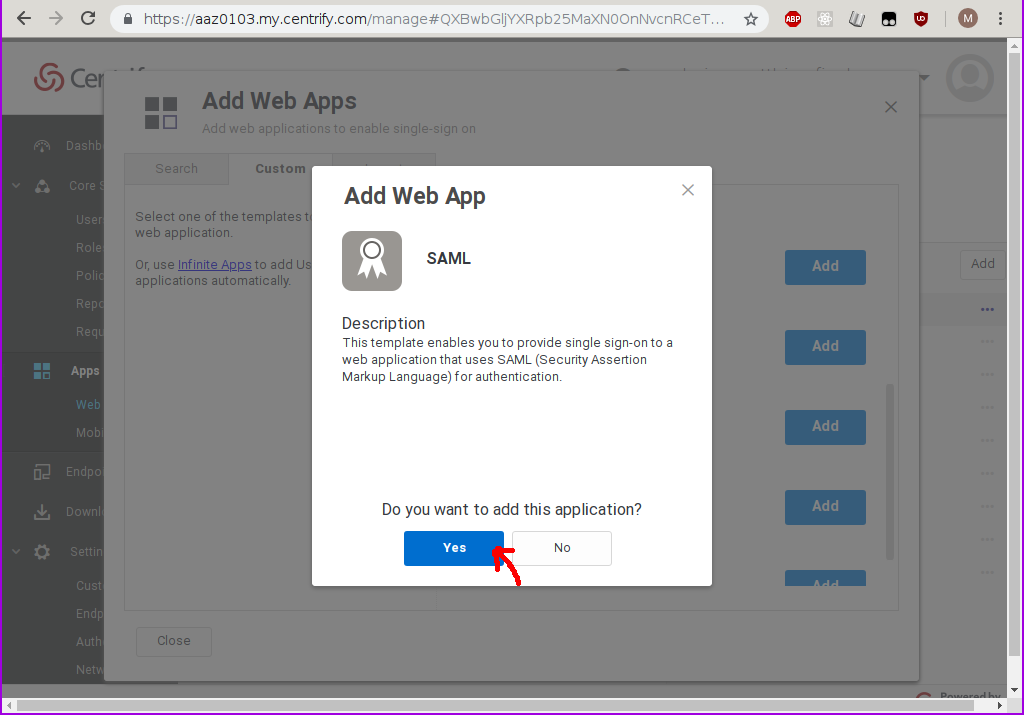
Create a new custom SAML application
Confirm…
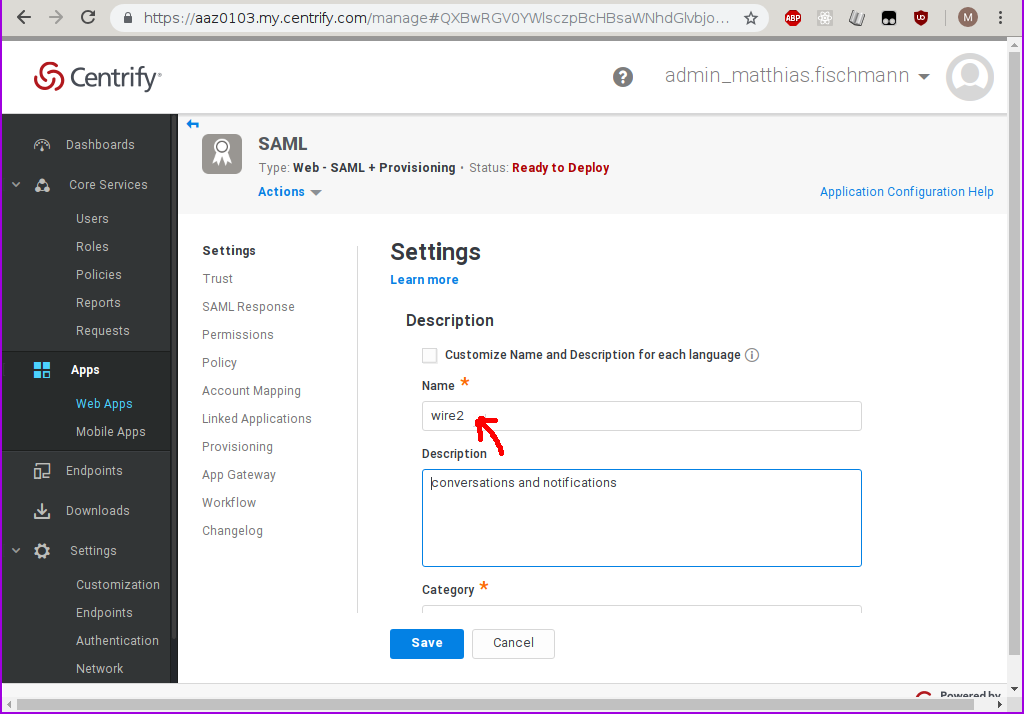
Wait a few moments until the UI has rendered the Settings tab of your newly created Web App.
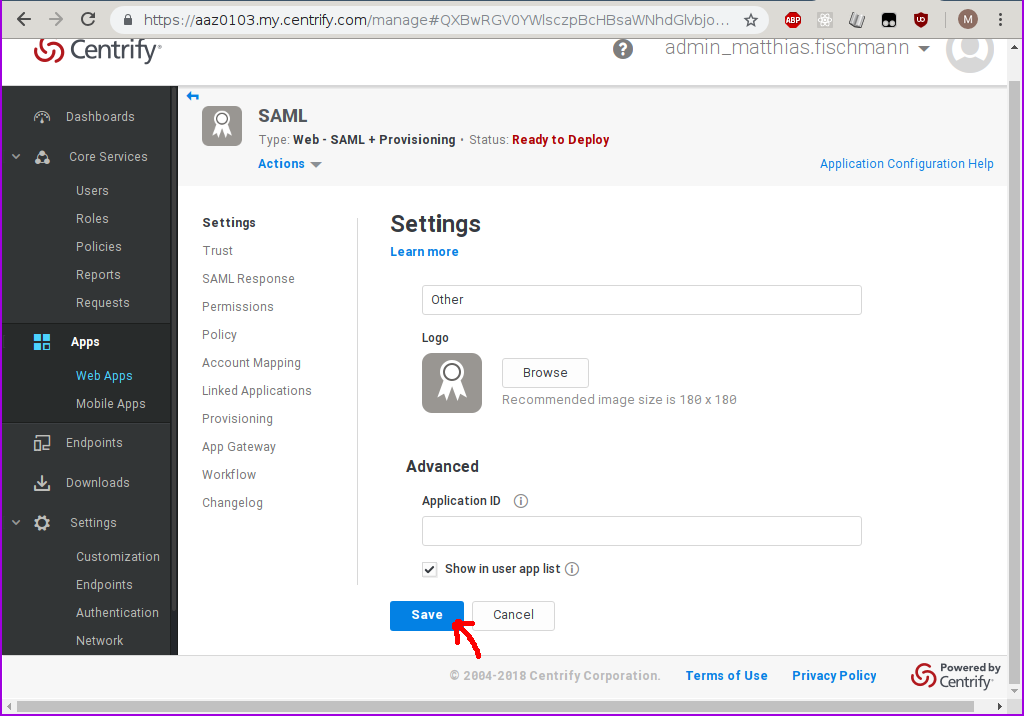
Enter at least a name, plus any other information you want to keep about this new Web App.
Then click on Save.
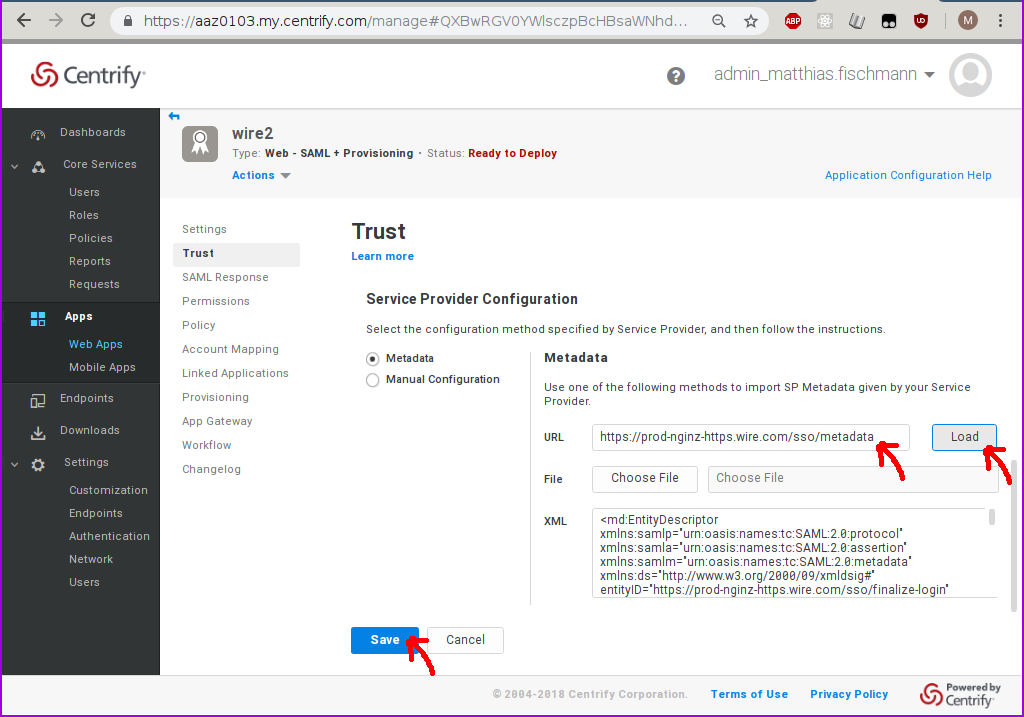
Move to the Trust tab. This is where the SP metadata (everything centrify wants to know about wire, or Service Provider) and the IdP metadata (everything wire needs to know about centrify, or Identity Provider) can be found.
Enter https://prod-nginz-https.wire.com/sso/finalize-login as the SP metadata url.
Click on Load.
You can see the metadata appear in the form below the Load button.
Click on Save.
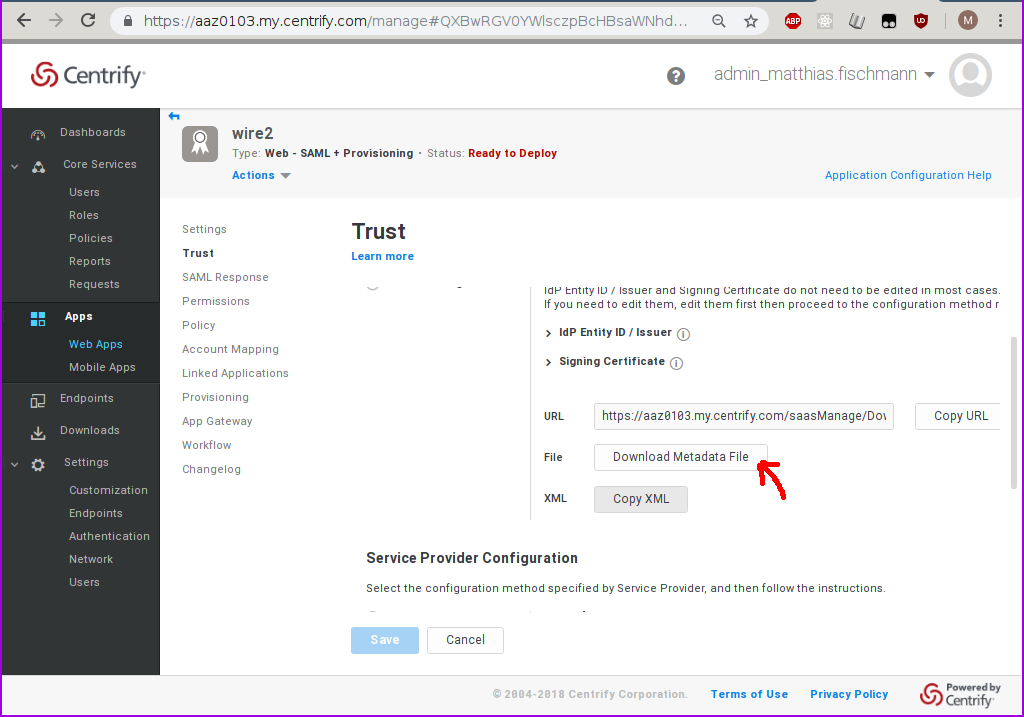
Scroll down the Trust tab until you find the button to download the IdP metadata.
Store it in a file (eg. my-wire-idp.xml). You will need this file to set up your wire team for SSO.
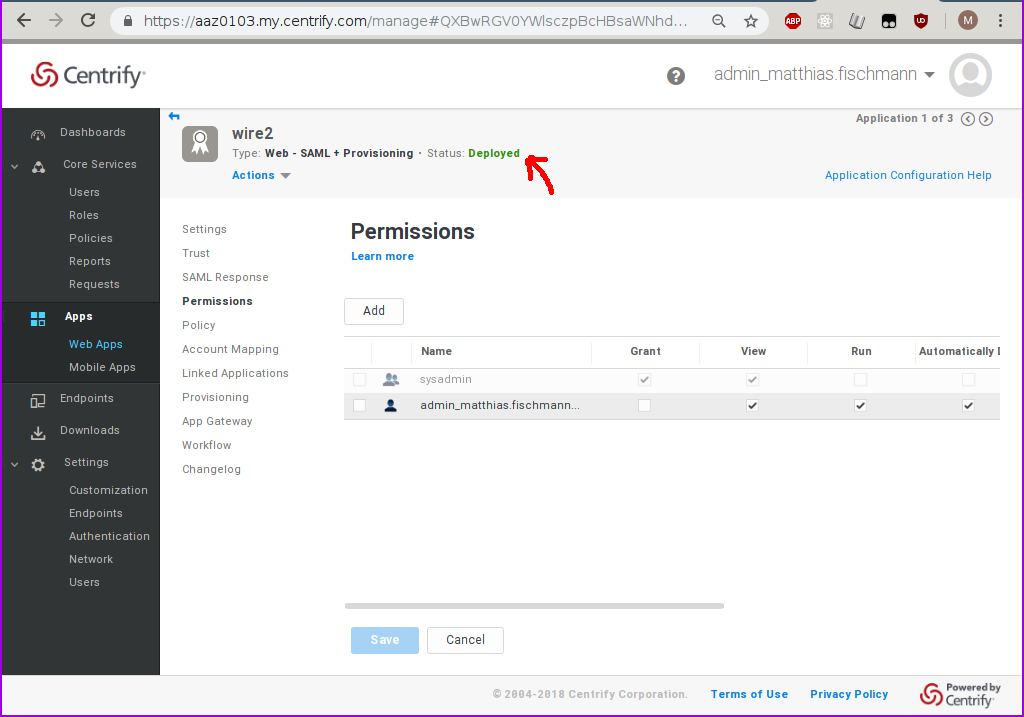
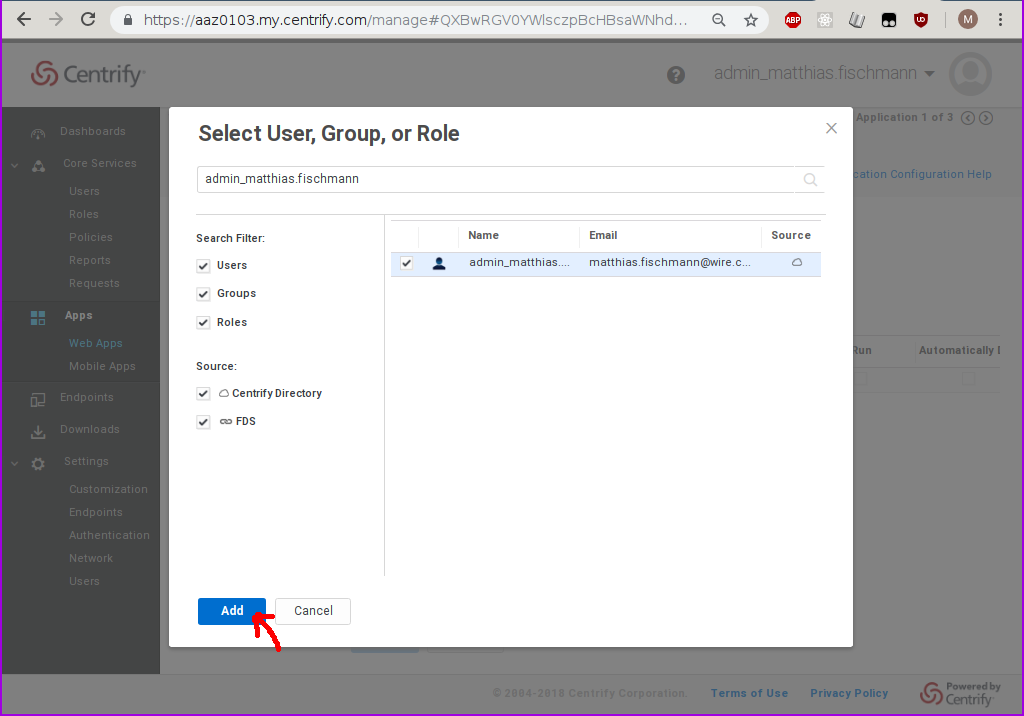
Move to the Permissions tab and add at least one user.

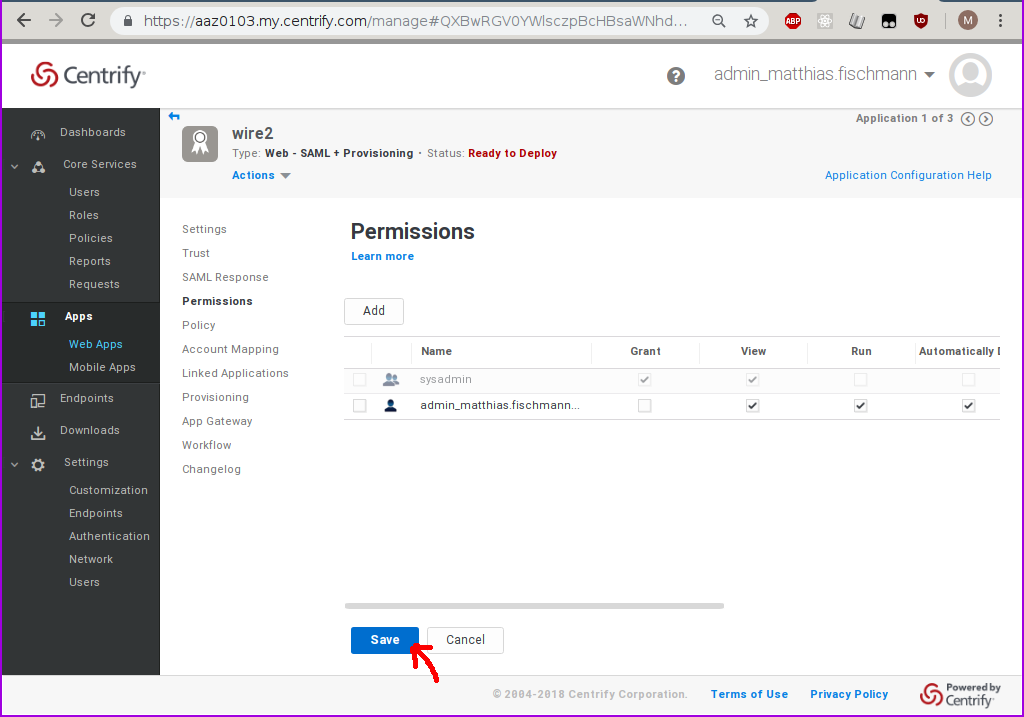
If you see the status Deployed in the header of the Web App setup page, your users are ready to login.